
When you are building a clothing brand, sampling is one of the most important stages before production begins. A design may look perfect in a sketch or on a computer screen, but the real garment can turn out very differently once fabric, stitching, measurements, trims, and finishing are involved. 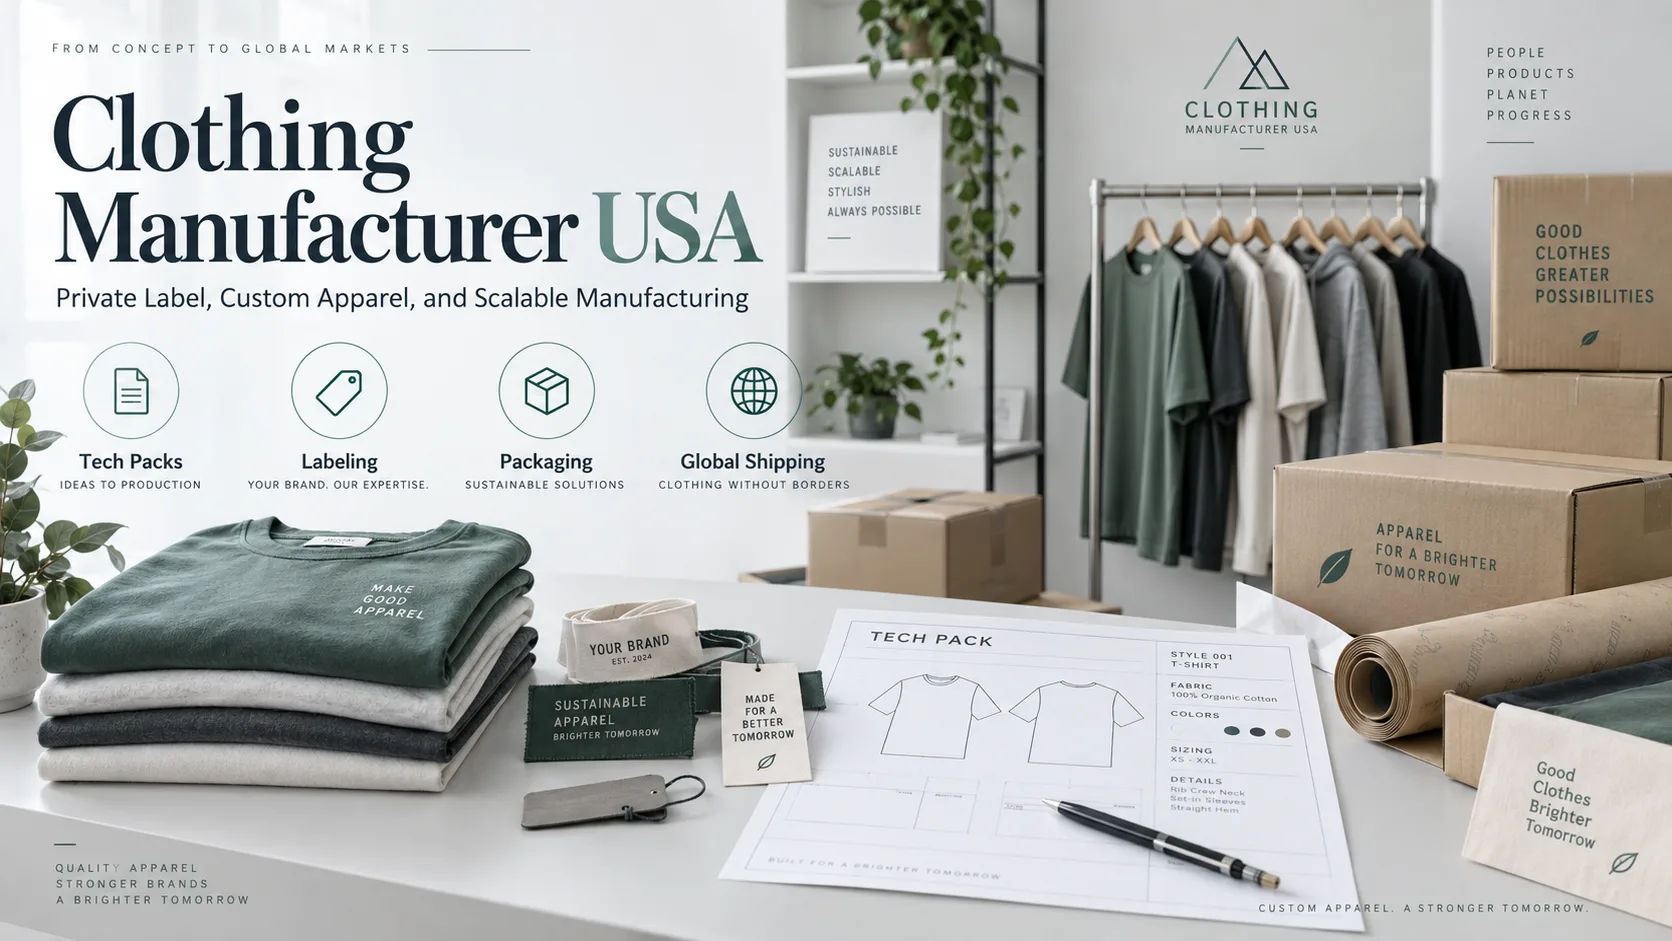
A private label clothing manufacturer normally follows a structured sampling process to turn your design idea into a physical garment. The sample allows you to check the fit, fabric, construction, appearance, and overall quality before committing to a larger order.
Understanding how this process works can save you money, reduce production mistakes, and make communication with your manufacturer much easier. It also helps you know what to expect when you send your first clothing design for development.
What Is a Garment Sample?
A garment sample is a physical version of the clothing item you want to produce. It is usually made before bulk manufacturing so both the brand and manufacturer can evaluate the design.
For example, if you want to launch a private-label hoodie, the manufacturer may first create one hoodie using your specifications. You can then examine its fabric weight, measurements, hood shape, pocket placement, stitching, ribbing, labels, print, embroidery, and overall appearance.
The sample is not simply a demonstration piece. It is a testing stage.
A good sample can reveal problems that were impossible to notice in a sketch or technical specification. Perhaps the sleeves are too long, the fabric is too thin, the neckline stretches too much, or the logo sits slightly higher than expected.
Finding these problems before bulk production is much easier and cheaper than discovering them after hundreds or thousands of garments have been produced.
How Does the Sampling Process Begin?
The process normally starts when the brand provides the manufacturer with design information.
This information can come in different forms. Some brands provide complete tech packs containing measurements, construction details, fabric information, artwork, colors, labels, and packaging instructions.
Other brands may only have a basic sketch or reference garment.
A professional private label clothing manufacturer will usually review the information and determine whether additional details are needed before creating the sample.
The manufacturer may ask questions about fabric composition, garment weight, color, sizing, stitching, trims, printing, embroidery, labels, and finishing.
This initial communication matters because unclear instructions can lead to an inaccurate first sample.
What Information Does the Manufacturer Need?
The more precise your specifications are, the easier it becomes for the factory to reproduce your intended design.
A manufacturer may need the following information:
-
Garment sketches or technical drawings
-
Size specifications
-
Fabric composition
-
Fabric weight
-
Color references
-
Stitching requirements
-
Collar, cuff, and waistband details
-
Buttons, zippers, or other trims
-
Print or embroidery artwork
-
Brand labels
-
Care labels
-
Packaging instructions
-
Special washing or finishing requirements
If you have a tech pack, the sampling process is usually more straightforward.
If you do not have one, the manufacturer may help develop the specifications based on your concept.
The First Prototype Sample
The first physical version is often called a prototype or development sample.
Its main purpose is to test the design.
At this stage, the manufacturer is checking whether the proposed construction works in real life. The garment may not be perfect yet.
For example, the manufacturer might discover that a particular fabric does not drape properly for the intended design. A pocket may need reinforcement. A zipper may not sit correctly. A curved seam might require adjustment.
The first sample helps identify these issues.
This is why brands should not automatically expect the first sample to be production-ready.
How Fabric Is Selected for Sampling
Fabric is one of the most important parts of sampling because it affects appearance, comfort, durability, fit, and cost.
The manufacturer may source fabric based on your specifications or use fabric supplied by the brand.
For a T-shirt, the manufacturer might need to consider cotton type, fabric weight, stretch, knitting structure, and finishing.
For a jacket, the considerations could include shell fabric, lining, insulation, zippers, buttons, and water-resistant treatments.
A private label clothing manufacturer may also provide fabric swatches before making the complete sample.
This can be extremely useful.
Instead of producing an entire garment from an unsuitable fabric, you can examine small fabric pieces first. You can feel the softness, thickness, stretch, texture, and weight before approving the material.
Creating the Pattern
Once the design and materials are understood, the manufacturer develops the garment pattern.
The pattern is essentially the blueprint used to cut the fabric.
Pattern makers consider measurements, garment shape, seam allowances, construction methods, and how different pieces will fit together.
For example, a basic sweatshirt may require separate pattern pieces for the front, back, sleeves, cuffs, waistband, and neckline.
More complicated garments can contain dozens of individual pieces.
Pattern accuracy is critical because even a small measurement error can affect the finished garment.
Cutting the Sample
After the pattern is prepared, fabric is cut according to the pattern.
For a sample, only a small quantity of fabric is normally required.
The manufacturer carefully cuts each component so the pieces can later be assembled.
Fabric direction can also matter. Some fabrics have stretch, grain, patterns, or textures that need to be positioned correctly.
Printed or patterned materials require additional attention because stripes, checks, graphics, and repeated patterns may need to align across seams.
Sewing the Sample
Once the fabric pieces are cut, the garment moves into sewing and assembly.
The sewing team follows the construction requirements provided by the brand or development team.
Different garments require different techniques.
A T-shirt may use overlock stitching and coverstitching, while a tailored jacket can require several types of seams and internal construction.
The manufacturer also considers seam strength, stitch density, thread selection, and finishing.
At this stage, the garment begins to resemble the final product.
However, there can still be adjustments after sewing.
Checking Measurements
Measurements are one of the first things a brand should check when receiving a sample.
The manufacturer normally works from a measurement specification or size chart.
Important measurements may include:
-
Chest or bust
-
Waist
-
Hip
-
Shoulder width
-
Sleeve length
-
Garment length
-
Neck opening
-
Cuff width
-
Rise and inseam for trousers
The sample should be measured carefully rather than judged only by looking at it.
A garment can appear correct but still have measurements that are several centimeters away from the required specification.
Fit Testing
Fit testing is different from simply checking measurements.
A sample should ideally be worn by someone who represents the intended size and body shape.
This allows the brand to evaluate how the garment actually behaves when worn.
You may notice that the shoulder feels tight, the armhole is uncomfortable, the waistband rides up, or the garment is too loose around the body.
Fit testing can lead to pattern adjustments.
For brands selling fashion products, this stage can be particularly important because customers expect clothing to fit consistently.
Adding Branding Elements
Sampling can also include the brand's identity.
This may involve woven labels, printed labels, care labels, hangtags, embroidery, screen printing, heat transfers, patches, or other branding methods.
For example, a clothing brand may request its logo embroidered on the chest.
The manufacturer needs to consider the logo's dimensions, thread colors, placement, stitch density, and backing material.
The brand should check the physical result rather than approving artwork alone.
A logo that looks perfect on a digital file can look too large or too small when applied to an actual garment.
Making a Revised Sample
The first sample often leads to revisions.
Suppose you receive a hoodie and notice that the body is too long, the cuffs are too loose, and the logo needs to move slightly toward the center.
You provide feedback to the manufacturer.
The factory then makes adjustments and creates another sample.
This is commonly known as a revised sample or second sample.
The number of revisions depends on the complexity of the garment and how accurate the original specifications were.
Simple products may require only one or two rounds.
Complex garments can require several.
What Happens During Sample Approval?
Once the brand is satisfied with the garment, the sample can be approved.
The approved sample becomes an important reference for bulk production.
The manufacturer can use it to compare production garments against the approved version.
This helps maintain consistency.
The brand should carefully record the approved specifications, including measurements, fabric, colors, trims, labels, artwork, and construction details.
A private label clothing manufacturer can then use these approved details as a production standard.
Why Sample Approval Matters Before Bulk Production
Bulk production involves much more material, labor, time, and money than sampling.
If you discover a problem after production has started, correcting it can be difficult.
Imagine ordering 1,000 hoodies and discovering that the sleeve length is incorrect.
Fixing that problem after manufacturing may be expensive or impossible.
Sampling reduces this risk.
It gives the brand an opportunity to identify problems while the project is still relatively small.
This is one of the biggest reasons experienced clothing brands take sampling seriously.
How Long Does Garment Sampling Take?
Sampling time varies considerably.
A basic T-shirt may be developed relatively quickly, while a detailed jacket or structured garment can take considerably longer.
Factors that affect the timeline include:
-
Design complexity
-
Fabric availability
-
Trim availability
-
Pattern development
-
Printing or embroidery
-
Number of revisions
-
Manufacturer workload
-
Shipping time
-
Brand response time
If special fabrics or custom trims must be sourced, the process can take longer.
Brands should therefore include sampling time in their overall product launch schedule.
How Much Does a Sample Cost?
Sample costs vary according to the manufacturer, garment type, materials, and development requirements.
A simple garment may have a relatively low sampling cost.
A complicated garment can cost considerably more because it may require specialized fabric, trims, patterns, embroidery, printing, or additional labor.
Some manufacturers charge a separate sample fee.
Others may offer sampling arrangements where some development costs are deducted from a later bulk order.
It is important to ask about sample charges before development begins.
You should also clarify whether shipping, custom materials, pattern fees, and revisions are included.
What Should You Check When You Receive a Sample?
Do not simply look at the sample and decide whether you like it.
Use a checklist.
Start with the fabric.
Check its weight, softness, stretch, texture, and color.
Then inspect the measurements.
Compare the actual garment against the approved size specifications.
Look at the stitching carefully.
Check for loose threads, uneven seams, skipped stitches, puckering, and weak areas.
Next, examine the branding.
Check logo placement, embroidery quality, printing, labels, and hangtags.
Finally, wear the garment if possible.
Move around in it.
Sit down, raise your arms, walk, and check whether the garment remains comfortable.
This practical inspection can reveal problems that are easy to miss on a table.
Common Sampling Mistakes Brands Make
One common mistake is giving vague instructions.
Saying that you want a "premium oversized hoodie" does not provide enough technical information.
The manufacturer needs measurable specifications.
Another mistake is approving a sample without actually wearing it.
A garment can look attractive but feel uncomfortable.
Some brands also focus heavily on appearance while ignoring construction quality.
A beautiful garment with weak seams will not create a strong product.
Another problem is changing specifications after sample approval.
If the fabric, measurements, or trims change after approval, the manufacturer may need to create another sample.
Keeping specifications organized helps avoid confusion.
How to Give Useful Sample Feedback
Feedback should be specific.
Instead of saying, "The sleeves are wrong," explain what needs to change.
For example, you might say that the sleeve should be shortened by two centimeters or that the cuff opening should be reduced.
Photos can also help.
Mark the area that needs adjustment and explain the requested change.
A measurement chart can make communication even easier.
Clear feedback saves time because the manufacturer does not have to guess what you mean.
The Difference Between a Sample and a Production Standard
A sample demonstrates what the product should look and feel like.
An approved sample can also become a production reference.
This distinction is important.
The production team should not simply make garments that are "similar" to the sample.
They should follow the approved specifications.
For larger orders, brands may also request production samples or pre-production samples before the entire quantity is manufactured.
This provides another opportunity to confirm that the factory has correctly transferred the approved design into production.
Does Every Garment Need a New Sample?
Generally, each substantially different garment should be sampled.
If you are producing the same T-shirt in five colors, you may not need a completely different construction sample for every color.
However, colors and materials can behave differently.
A fabric change can affect fit.
A different printing method can affect appearance.
A new wash can change dimensions.
Therefore, manufacturers and brands should assess changes carefully rather than assuming that one approved sample covers every possible variation.
Tips for a Smooth Sampling Process
Start with clear specifications.
Choose realistic fabrics and trims.
Ask for fabric swatches when appropriate.
Review the first sample carefully.
Measure rather than guess.
Wear-test the garment.
Give specific feedback.
Keep approved artwork and specifications organized.
Do not rush approval simply because you are excited about launching the collection.
Most importantly, maintain clear communication with the manufacturer throughout development.
A good sampling process is collaborative. The brand knows what it wants the customer to experience, while the manufacturer understands how to turn that idea into a manufacturable garment.
Choosing the Right Manufacturer for Sampling
Not every factory provides the same level of development support.
When evaluating a private label clothing manufacturer, ask how its sampling process works before placing a large order.
Find out whether it develops patterns in-house, sources fabrics, creates custom labels, handles embroidery or printing, and supports revisions.
You should also ask how sample approvals are documented.
A manufacturer that communicates clearly during sampling is generally easier to work with during production.
Price matters, but it should not be the only consideration.
A slightly cheaper sample process is not necessarily better if it creates repeated mistakes or poor communication.
Conclusion
Sampling is the bridge between a clothing idea and a production-ready product. It allows a brand to test the design, fabric, measurements, construction, fit, branding, and finishing before committing to bulk manufacturing.
A professional private label clothing manufacturer normally begins by reviewing the design information, selecting or confirming materials, developing patterns, cutting fabric, sewing the prototype, and presenting the sample for review. The brand then provides feedback, and revisions are made until the garment meets the required standard.
The most important thing to remember is that sampling is not wasted time. It is a form of quality control. A few hours spent carefully reviewing a sample can prevent much larger problems later.
For new clothing brands, the temptation to move quickly into bulk production can be strong. However, rushing this stage can create expensive mistakes. A sleeve that is slightly too long may become a problem across hundreds of garments. A poorly positioned logo can affect the entire collection. An unsuitable fabric can damage customer satisfaction before the brand has even established itself.
Treat the sample as the physical blueprint for your product. Check it from every angle, measure it carefully, wear it, inspect the construction, and compare it against your original specifications.
When you communicate clearly and work through revisions patiently, the sampling stage becomes much more than a formality. It becomes the point where your concept is refined into a garment that customers can actually wear, enjoy, and associate with your brand.
For that reason, working with an experienced private label clothing manufacturer and maintaining a careful sample approval process can make the difference between simply producing clothing and building a reliable clothing brand.